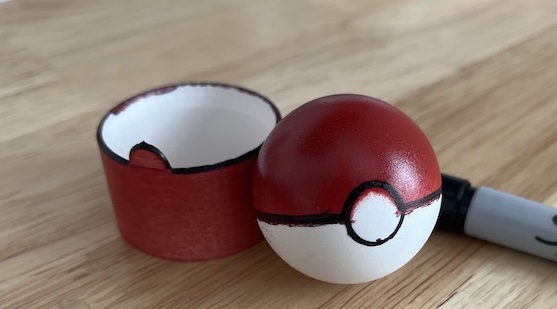
I made a 3D printed mask to help me paint ping pong balls to look like a Poké ball. The mask design is available on tinkercad.com (Poké Ping Pong Ball Rig).
The ping pong Poké balls that I made look a bit rough, but the kids at the birthday party all had fun bouncing them into the hat and didn’t seem to notice the imperfections at all.
3D Printing the Mask
Here is the printing setup I used.
- Printer: Elegoo Neptune 3 Pro
- Filament: PolyTerra PLA – White
- Layer Height: 0.2 mm
- Infill: 15%
- Adhesion: Skirt
Painting Process
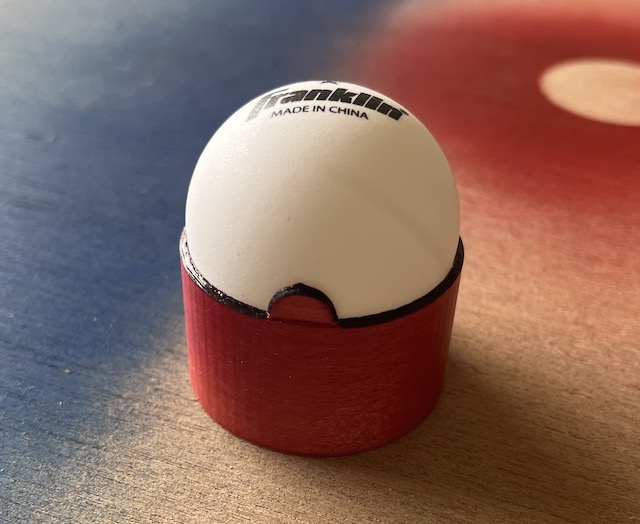
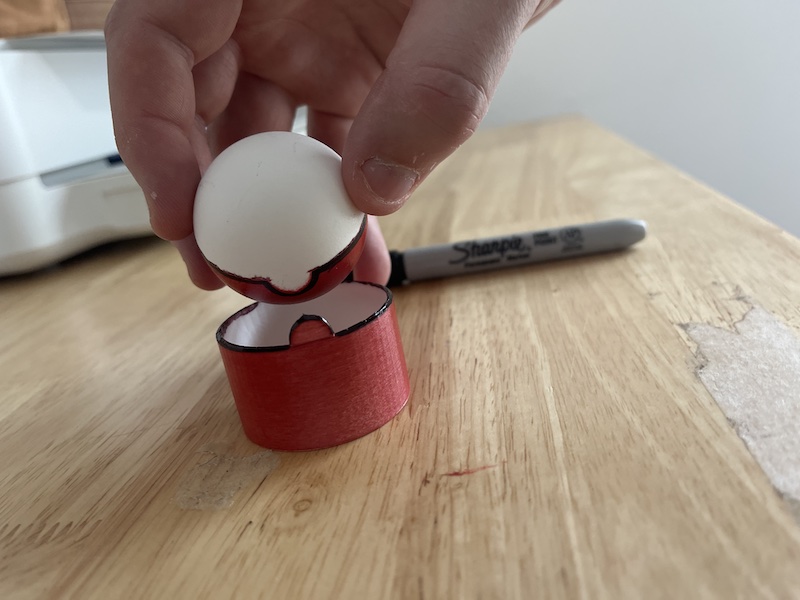
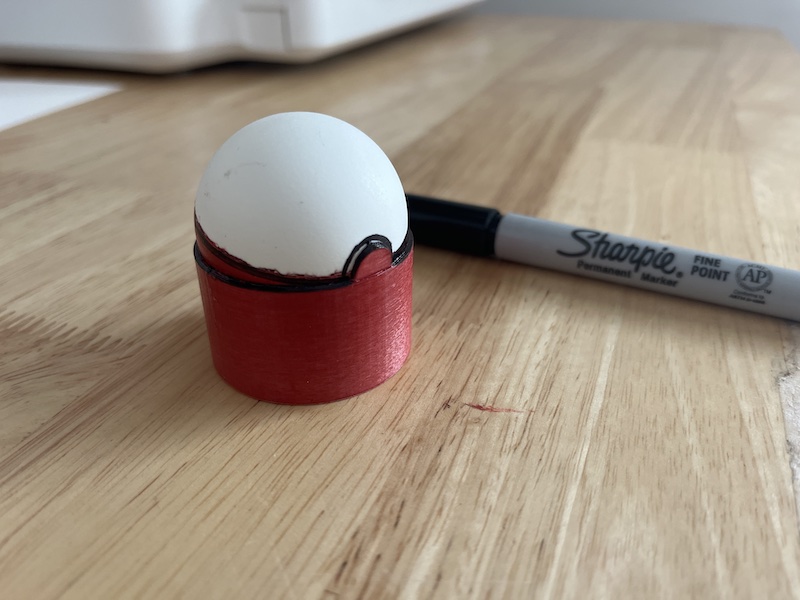
After the mask is printed place the ball into the mask as shown below. Note the small half-circle tab that sticks up on the mask. Every part of the ball showing above the mask needs to be colored red. I used spray paint, but any kind of red non-washable paint or marker should work.
The trick with spray paint is to hold the can away from the target a bit and spray light coats of paint onto the ball leaving enough time for the paint to dry in between coats. As a wise woman taught me, focus on spraying the edges of the mask and the rest will take care of itself. After a few coats of paint it will have a nice smooth finish with minimal drip lines.
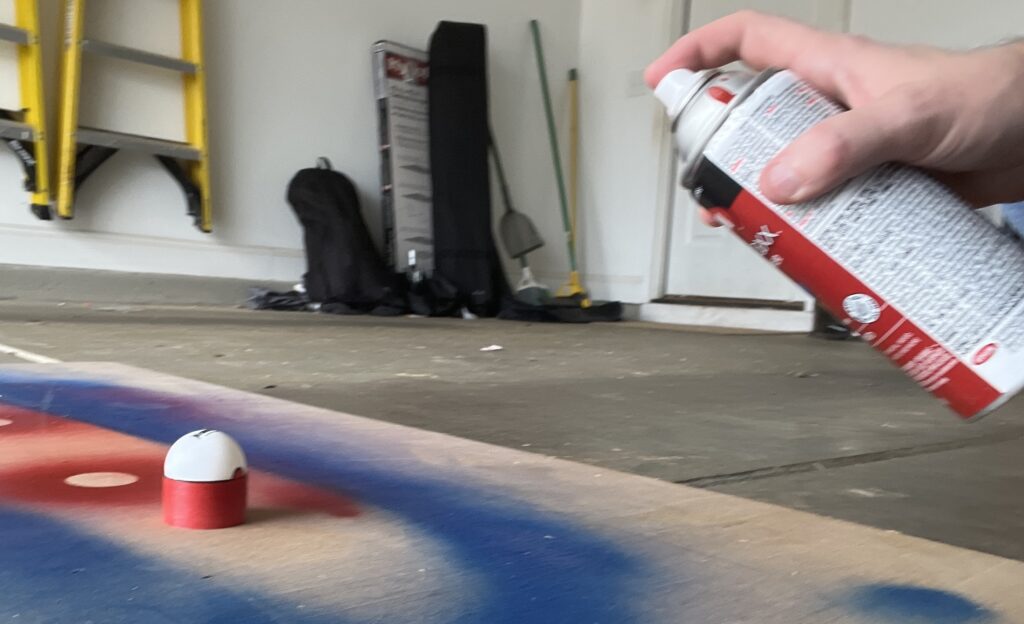
The spray paint tended to run down below the mask line a bit. My later tries got better but were never perfect. Using a red permanent marker would probably produce cleaner lines.
Drawing the Black Line
The Poké ball needs a black line around the center. I chose to draw this line with permanent black marker. Work slowly and carefully when tracing along the edge of the mask to avoid smudging the line (as I did).
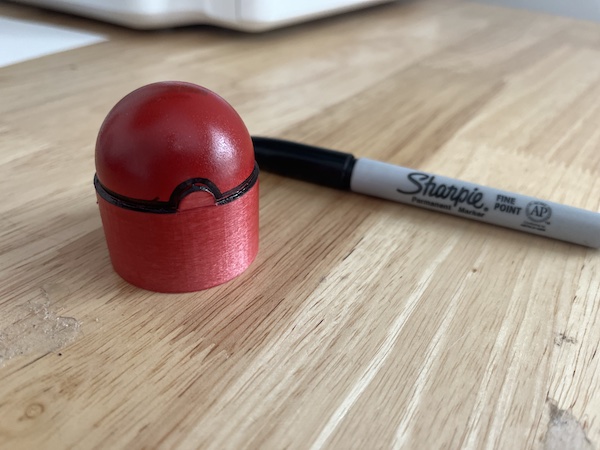
Now half of the white circle on the front of the ball is outlined. To outline the other half of the circle, pop the ball out of the mask, flip it over, and place it back in the mask. Align the center circle on the ball with the half-circle tab on the mask. Then trace around the half-circle part of the mask again to complete the white circle on the face of the ball.
And that’s all there is to it.
