I played around with an LCD 1602 display and an Arduino Uno. I especially wanted to learn more about generating custom characters. There is a good library called LiquidCrystal_I2C which is available in the Arduino Library Manager. This library can handle the basic LCD display functions very nicely. I made some example code for reference next time I want to include an LCD character display in a project. The example includes a custom class to display a progress bar on the screen. I also created a python tool to generate code to display images using custom characters.
I have a similar post on generating code to display images on an SSD1306 display here Using AVR Flash Memory.
The code is all uploaded to this repo: https://github.com/benjohnemmett/LCD1602-I2C-Util
Demo Code
The main Arduino sketch, called LiquidCrystal_I2C_Test.ino, consists of a series of demo functions.
LiquidCrystal_I2C lcd(LCD_ADDRESS, COLUMNS, ROWS);

void setup()
{
  lcd.init();
  lcd.backlight();

  demoTwoLinePrint();
  demoToggleDisplay();
  demoToggleBacklight();
  demoCursorOptions();
  demoScroll();
  demoPrintDirections();
  demoCustomChars();
  demoProgressBarClass();
  demoCharacterGen();
}
Most of the demo functions are just examples of basic functions of the LiquidCrystal_I2C library. The last two demos are the more interesting part. These are the progress bar, and the custom character image.
Progress Bar
The progress bar display is managed by a class called ProgressBar. This class encapsulates the custom characters that make up the display and exposes a method to update the display. The size & location of the progress bar is configured in the constructor.
The update method, called SetProgressIndex(uint8_t progress_index), takes as an argument the number of pixels across which will be filled in. This does not include the empty space between the character cells. Each cell is 5 pixels across so calling SetProgressIndex(5) will fill the first cell fully, and calling SetProgressIndex(6) will fill the first cell and the first column of the second cell.
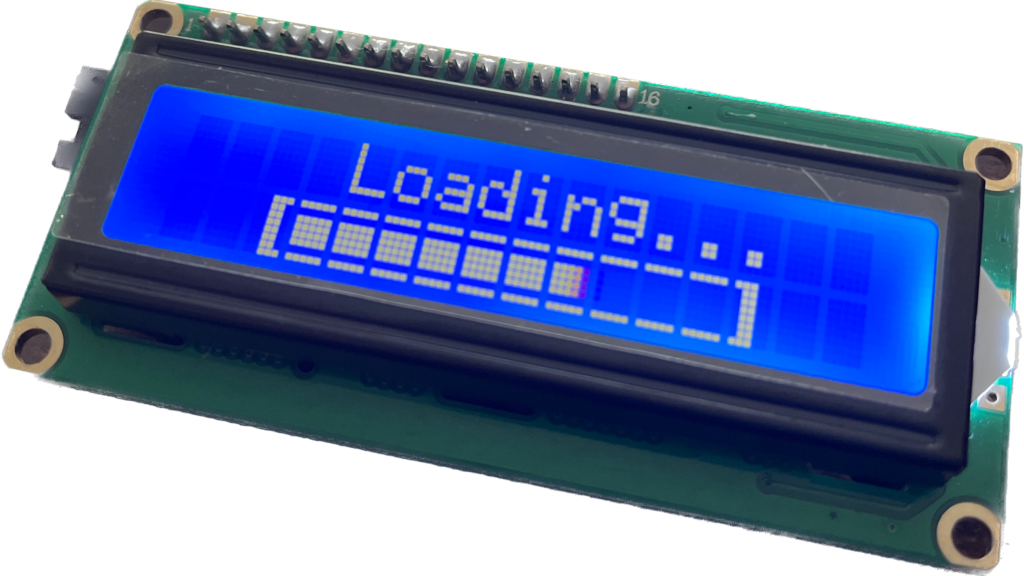
The demo code simply increases the index from 0 to 50 (5 pixels/cell x 10 cells) in a loop with a small delay.
ProgressBar bar(&lcd, bar_column, bar_row, bar_sections);
lcd.clear();
lcd.setCursor(4, 0);
lcd.print("Loading...");
for (uint8_t index = 0; index <= bar_sections * PIXEL_COLS_PER_CELL;index++) {
bar.SetProgressIndex(index);
delay(100);
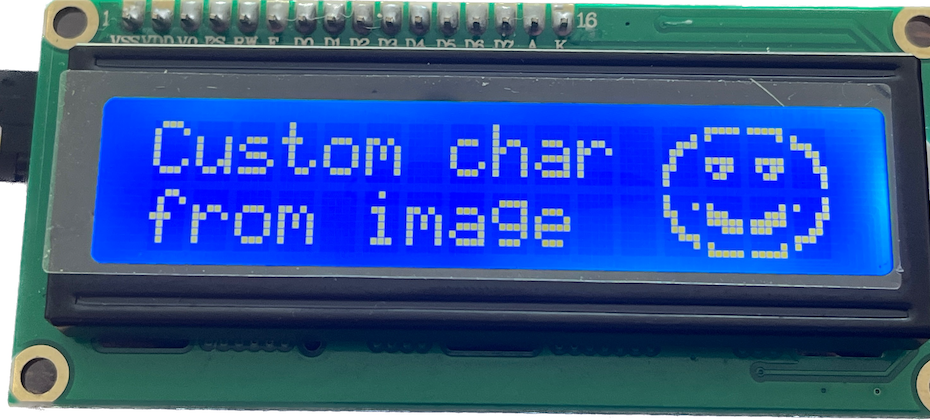
}Custom Character Image
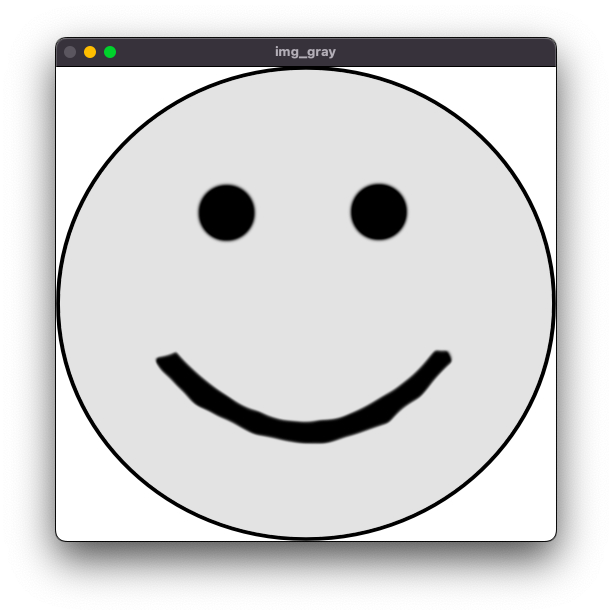
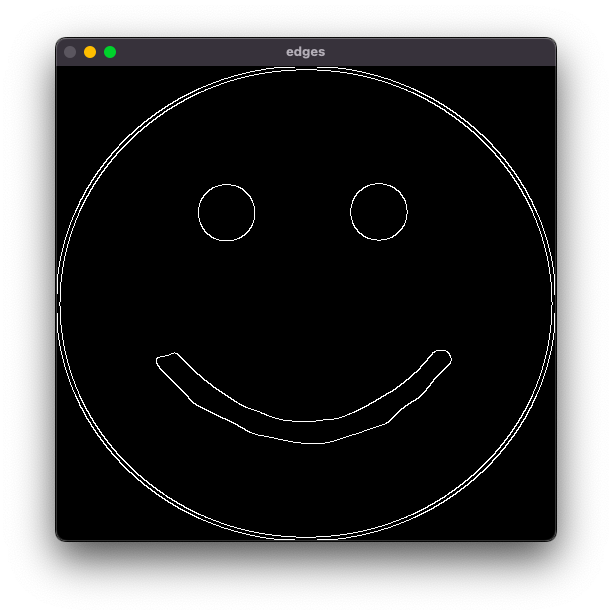
The custom character image starts with a python script called bitmapper.py that requires opencv and numpy. This script takes a standard image and generates code to represent that image as a set of custom 5×8 pixel characters on the LCD. It does this with a series of image transformations to raw image -> grayscale -> edge image -> scaled image…
and finally the scaled edge image is divided into 5×8 chunks and the generated code is written to stdout.
// Generated with bitmapper.py
uint8_t smile_0[8] = {
    0b00000000,
    0b00000001,
    0b00000111,
    0b00001100,
    0b00001000,
    0b00011000,
    0b00010000,
    0b00010000,
    };
...
The result on the display looks like this
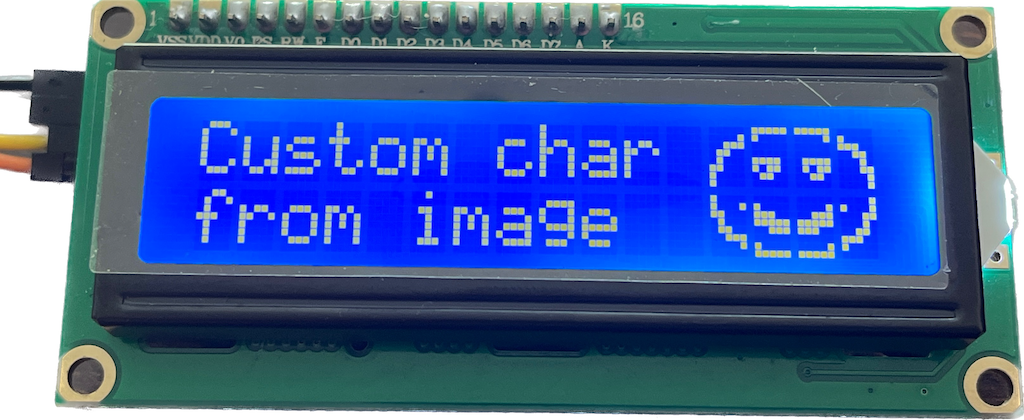
The smily face image uses 2 rows and 4 columns of 5×8 character cells. There are gaps in the image due to the space between cells, however the image still looks pretty good.
Conclusion
This is as far as I’m going with this LCD display and custom characters for now. I feel much more comfortable adding this to future projects after having played around a bit and having some example code for reference.