ESP-Now, a simple peer-to-peer wireless protocol, is supported in the latest MicroPython builds. While it’s not included in an official ESP32 MicroPython release yet (v1.20.0 at time of writing this post), you can download and flash a nightly build to get started with ESP-Now on ESP32 devices.
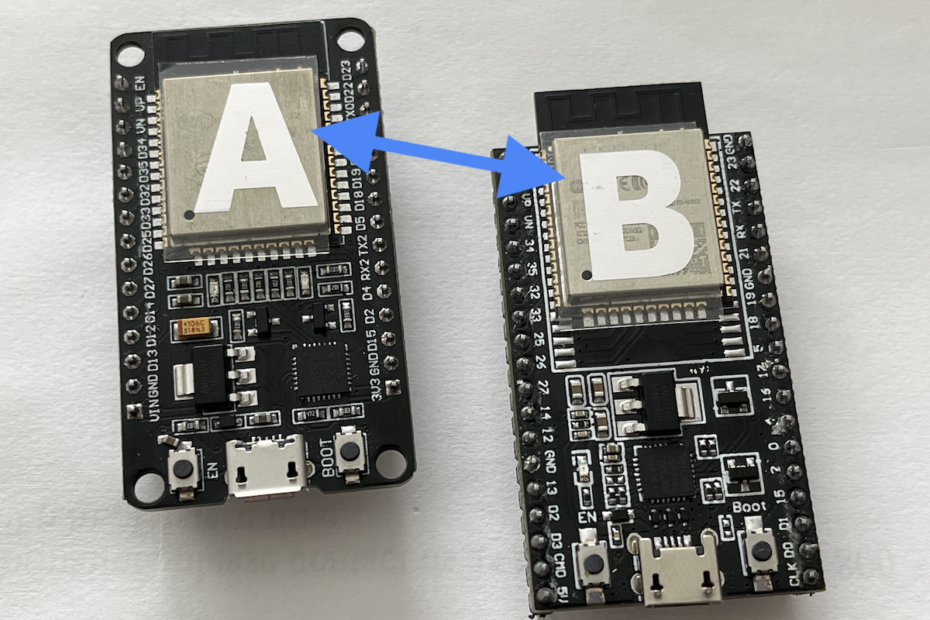
Here are notes on my setup and initial tests using an ESP32 DevKit V1 (device A) and ESP32 DevKitC V4 (device B). The example code for these tests is pushed up in this repo. You will need at least two ESP32 devices in order to run the examples. These have not been tested on ESP8266.
Flashing MicroPython With ESP-Now Support
The ESP32 MicroPython firmware can be downloaded form https://micropython.org/download/esp32/. Typically, it’s best to use the latest release build, however if the latest build is still v1.20.0 then you’ll need to grab a nightly build in order to have ESP-Now support.
For more details on flashing MicroPython firmware to an ESP32 device see the post MicroPython on ESP32.
Loading Example Code on ESP32 Devices
To run the example code, I recommend using the Thonny IDE, which is able to load the .py files onto the ESP32 devices, as well as edit files, and run a live REPL.
Selecting a Device
If you have both devices plugged into your computer, you can swap which one Thonny is connected to by going to Tools -> Options and selecting the device from the dropdown.
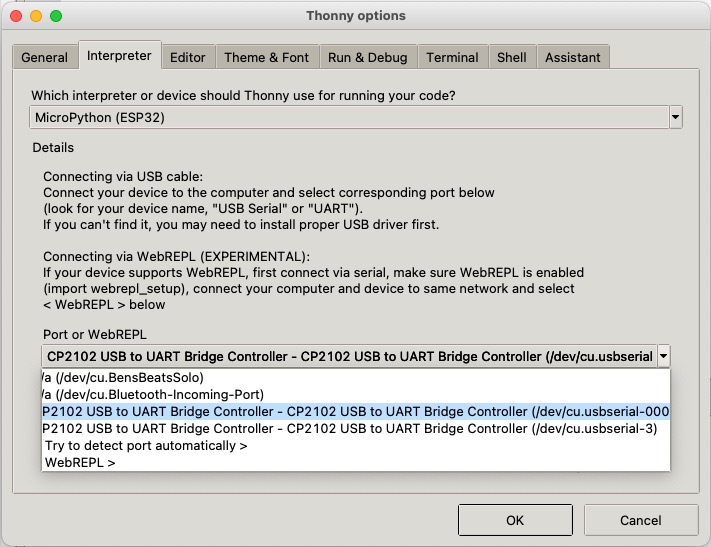
My devices are /dev/cu.usbserial-0001 (device A) and /dev/cu.usbserial-3 (device B).
Upload Example Code
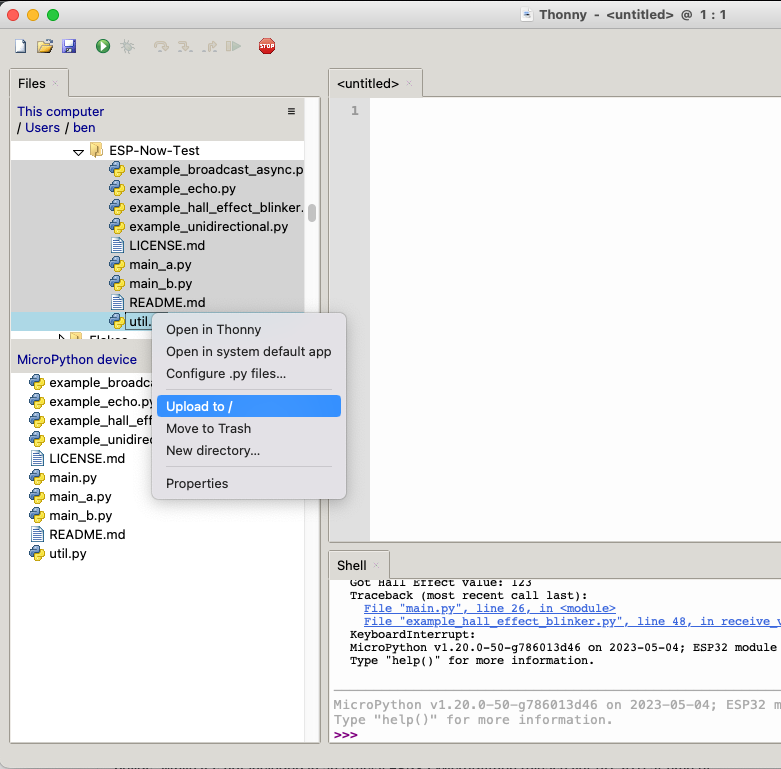
After you are connected to a device in Thonny, hit Ctrl+C to stop normal execution and enter the interactive REPL. At this point you can use Thonny to run MicroPython interactively and manage files. To upload files from your computer to the MicroPython device, highlight the files in the “Files” section in the top left side of Thonny, and select “Upload to /”.
Note that overwriting files on the device does not refresh them in the editor. Switching devices also does not refresh the file editor contents. To be safe, it’s good practice to close all editor tabs & reopen after uploading files or switching devices.
Get Device MAC Addresses
You will need to get the MAC address of each ESP32 device and add them to the util.py file. To get the MAC address of each device using Thonny, do the following:
- Select the device in the Thonny Tools -> Options menu
- Hit Ctrl+C to stop execution and enter the interactive REPL
- Run this code
import network

wlan_sta = network.WLAN(network.STA_IF)
wlan_sta.active(True)
wlan_sta.config('mac')
You will see the MAC address printed out as a string. In my case it looks like this
b'\xa4\xcf\x12u?D'Repeat this for device B and copy the MAC addresses to the util.py file on your computer so that the variables mac_address_a and mac_address_b match your device MAC addresses. In my case it looks like this
mac_address_a = b'\xa4\xcf\x12u?D'
mac_address_b = b'$o(\x9d\x93\xf4'
After the MAC addresses are set, upload the updated util.py file to each device.
Configuring and Running Example Code
Setup your device A to run the example code by:
- Switching Thonny to device A
- Open main_a.py in the editor
- Select File -> Save As.. and save it on the device as “main.py”
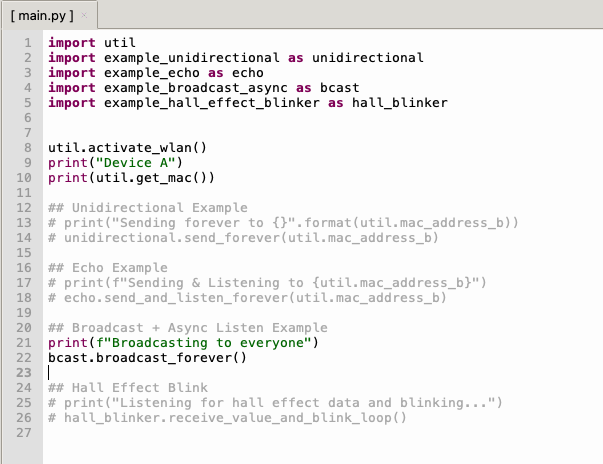
- Uncomment the example that you want to run in main.py. The screenshot below has the broadcast example uncommented.
- Save main.py
- Reboot the device with Ctrl+D. The device will run main.py on startup.
Switch to device B and follow the same setup steps except save main_b.py as main.py. Be sure to uncomment the same example on both devices.
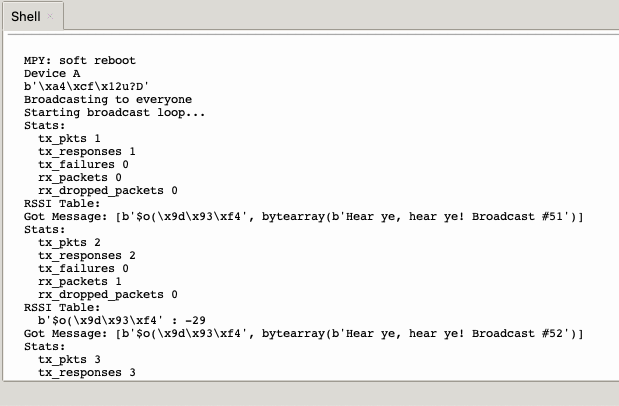
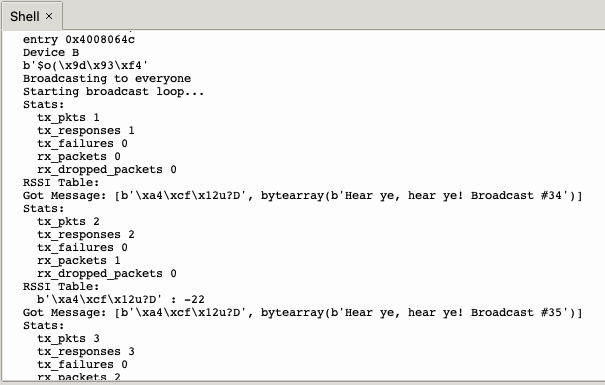
If all goes well, you should start seeing some output in the console. In the broadcast example each device is broadcasting a message “Hear ye, hear ye! Broadcast #{i}” where {i} increments for each message sent. Each device is also listening for incoming messages and displays what it receives along with the MAC address of the sender.
Example Code Summary
The repo includes the following four code examples.
- Unidirectional
- Echo
- Broadcast
- Hall Effect Blinker
Unidirectional Example
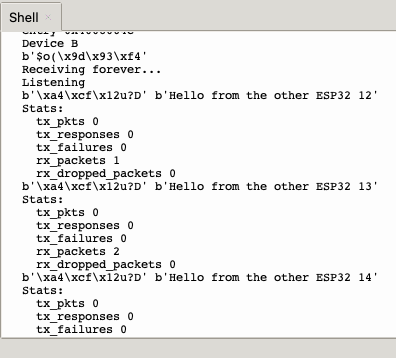
Device A sends a “Hello from the other ESP32 {i}” message to device B every 500ms, where {i} increments 0 to 99 and rolls back over to 0. Device B listens with a blocking call in an infinite loop and prints messages received as well as stats.
Here are screenshots of the output of each device running this example.

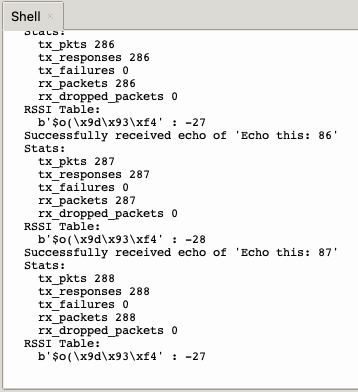
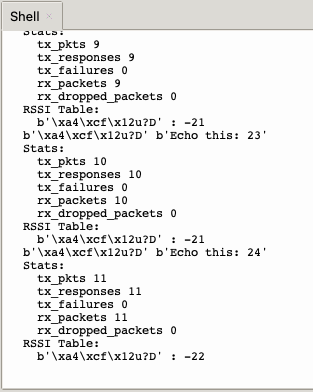
Echo Example
Device A sends a message “Echo this: {i}” where {i} increments 0 to 99 wrapping back to 0. Device B listens for a message and echos it back to Device A.
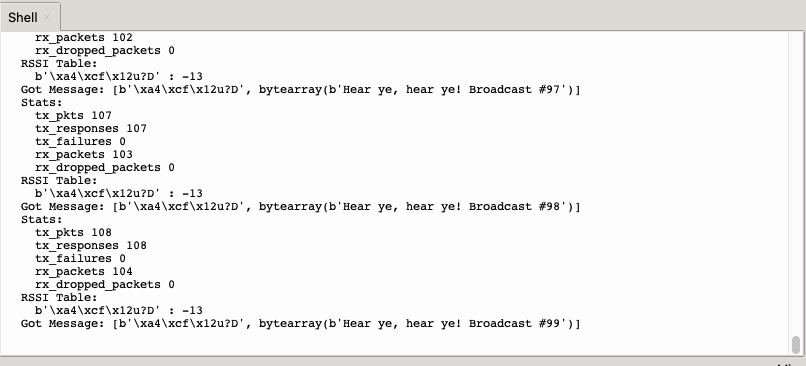
Broadcast Example
Device A & B both broadcast the message “Hear ye, hear ye! Brodcast #{i}” where {i} increments 0 to 99 wrapping back to 0. Both Devices are also listening. Instead of entering a blocking listen call, this example uses the receive interrupt call back.
Note: One side effect of using the callback interrupt is that it continues to run even after entering the interactive REPL in Thonny. To fully stop this example and the listener callback I had to do a soft reboot (Ctrl+D) to reset the device and then quickly break into the interactive REPL (Ctrl+C) before it started running the example again.
Hall Effect Blinker
This is a simple example of using ESP-Now communication for remote control. In this example, the Hall effect sensor values on device B are continuously sent to device A. When a magnet’s negative pole is placed near the ESP32 package on device B, the Hall sensor values drop which causes device A to increases its blink frequency.
Note: As in the previous example, an interrupt driven callback is used for receiving the Hall effect sensor values. use the same approach noted above when stopping runtime to enter interactive REPL.
Conclusion
I’m glad to see ESP-Now support for MicroPython. I hope that these simple tests & example code can be a starting point to more interesting projects.