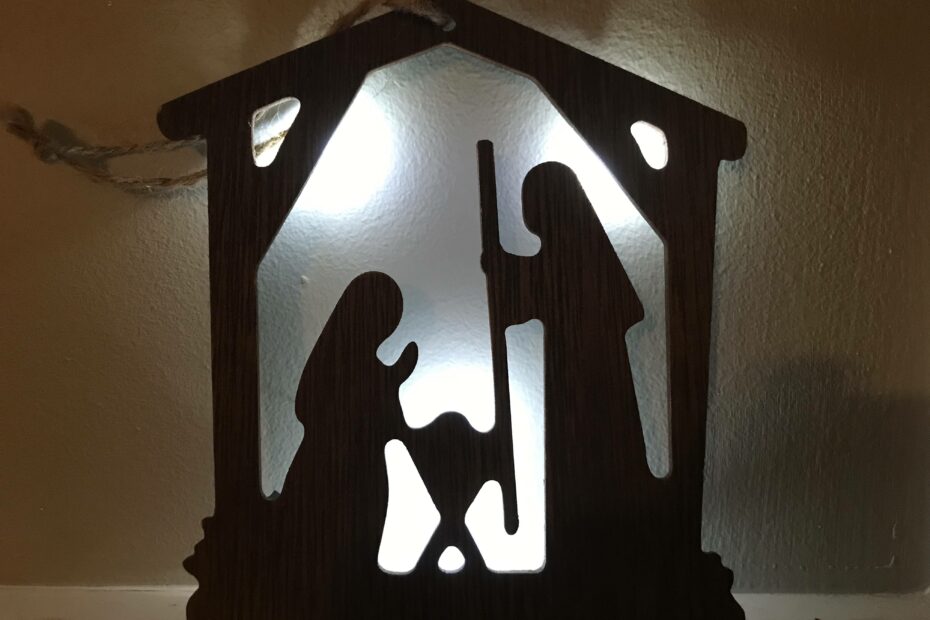
My kids all got these cool wooden Christmas ornaments and I thought it would be fun to add some lights and use it as a free standing nativity scene.
The Process
I had some LED light stickers left over from a paper circuit project. The stickers are made using the same process as this other paper circuit project, only here I made each light a standalone sticker with adhesive copper foil tabs.


Once the lights were on I glued a CR2032 battery holder and a momentary switch to the backside. Then I wired all the LED lights in parallel making sure to get the polarity correct. The lights are all the same color so they all illuminate evenly without adding any resistors. I used hot glue to secure the wires in several places and make sure they stay hidden.
A power switch on the bottom turns the lights on when the ornament is standing upright. This makes an easy way to turn the light off and save the battery.
The Result

Soldering Difficulties
I used a single strand of enameled wire to connect all of the LEDs. I hoped that the heat from the soldering iron would remove the enamel from the wires as I soldered them down, however it did not. The wires would not take solder well until I removed the enamel with some steel wool. This made wiring things up more tedious. If I were to do this again I would probably cut the wires to length and remove the enamel before soldering. If I were making a lot of these I might also consider laying out circuit traces to be cut out of adhesive copper sheets.

i showed my friend, dock.