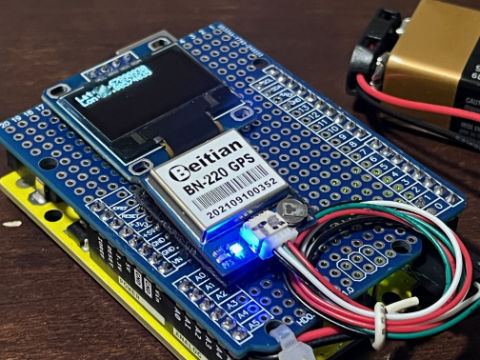
This DIY GPS unit consists of an Arduino Uno, SSD1306 OLED display, and BN-220 GPS. It is powered by a 9V battery. In another post I detailed a memory corruption issue workaround for this project.
The Arduino sketch is on Github: https://github.com/benjohnemmett/GpsDisplay
Components:
- Arduino Uno Compatible Board (AliExpress affiliate link)
- Arduino Uno Shield Blank PCB (AliExpress affiliate link)
- SSD1306 Display (AliExpress affiliate link)
- BN-220 GPS (AliExpress affiliate link)
- 9V Batter adapter (AliExpress affiliate link)
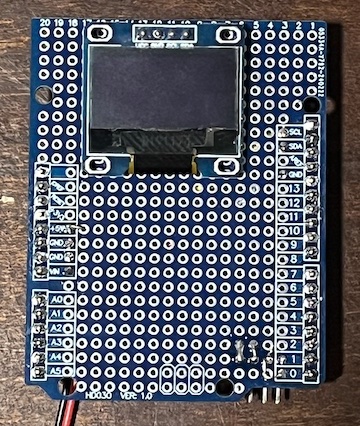
GPS Shield Layout
I soldered the SSD1306 directly to the shield near the top and wired the the SDA, SCL, as well as 5V and ground. I did not need external pull up resisters for the I2C bus since the SSD1306 has them integrated already. For the GPS input, I used 90 degree male headers on the under side of the shield and soldered them to the Arduino Tx, Rx, 5v, and ground. I used the connector adapter to female header pins that came with the BN-220. Finally, I soldered the 9V battery wires to Vin and ground.

Completed Setup
Here is the completed DIY GPS unit running on a 9V battery. Currently, the display only shows latitude & longitude, but could be upgraded to show additional GPS data.

Potential Upgrades
- Display additional data such as current time, altitude, signal quality, ground speed, etc…
- Create a 3D printed protective case
- Add a power Switch